
Tears of the Kingdom: Refighting Temple Bosses in the Depths (2026 Guide)
Tears of the Kingdom Depths boss rematches deliver Huge Crystallized Charges, powerful practice, and key coordinates for every arena.
I've been replaying Tears of the Kingdom in 2026, and one of my favorite late-game routines is dropping into the Depths to rematch the temple bosses. I still remember the first time I finished the four main temples and assumed those fights were behind me. Nope. Each temple boss has three rematch spots down in the Depths, and they're a fantastic way to farm Huge Crystallized Charges. I use those charges to max out my Zonai Battery 🔋 fast. The bosses respawn every Blood Moon, but their guarded chests only pay out once per save. Quick heads-up before I list the spots: as of 2026, I still haven't found a legit way to refight the Seized Construct from the Spirit Temple. If you care about the Hyrule Compendium, snap a picture during that fight.
Why I Bother With Depths Rematches
-
💰 Huge Crystallized Charges from each guarded chest
-
🔁 Bosses respawn every Blood Moon
-
🧠 Great practice for timing, flurry rushes, and elemental setups
-
🗺️ Forces me to explore the Depths and light up more Lightroots
I usually pin all three locations for a boss, grab the closest Lightroot, and glide or walk from there. The coordinates below are the exact spots I've used. Your route may vary depending on which chasms and Lightroots you've unlocked.
Colgera - The Wind Temple
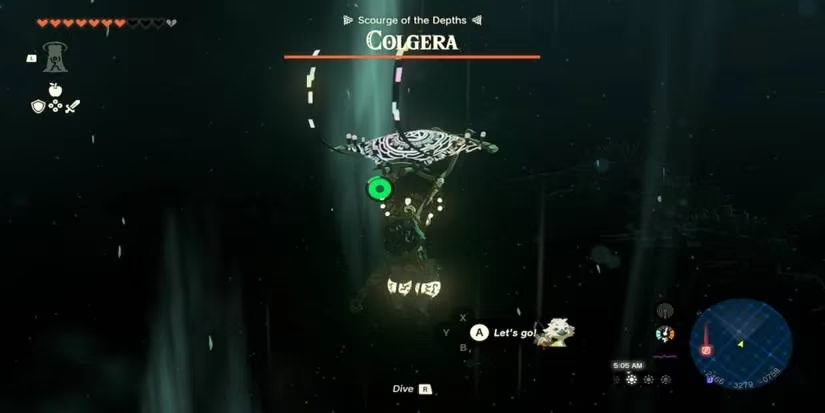
The Colgera rematch is basically the Wind Temple fight again, except this version hits harder. I still bring a bow with plenty of arrows and aim for the weak points. The first two spots are in the northwest part of the Depths, and both are a trek from the Hyrule Ridge Chasm.
| Location | Coordinates | Closest Lightroot | Closest Chasm |
|---|---|---|---|
| 1 | -2225, 3315, -06475 | Narusis | Hyrule Ridge Chasm |
| 2 | -4360, 3150, -0475 | Nupisoyuat (Tauyosipun Shrine) | Hyrule Ridge Chasm |
| 3 | -1095, -3540, -0575 | Nikohsi (Ishokin Shrine) | Great Plateau South Chasm |
Location 3 sits next to the South Lomei Depths Labyrinth, so I usually grab that Lightroot first and then walk over.
Mucktorok - The Water Temple
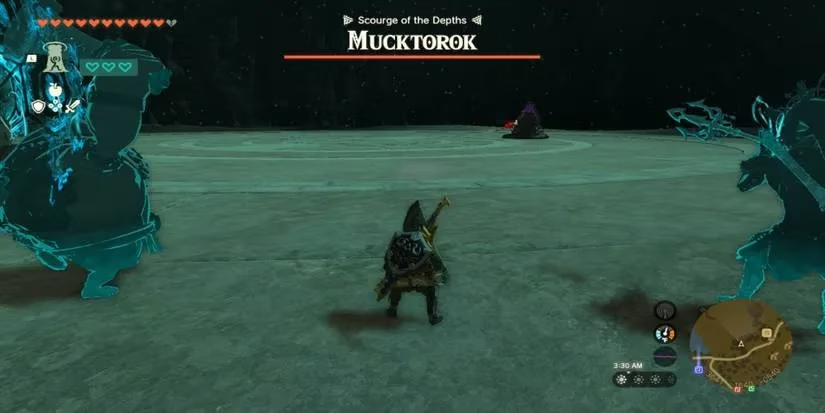
Mucktorok is still a messy little gremlin, and the Depths version is stronger. I like using splash fruit or a water-based Zonai setup to strip away the muck. The first spot is near the Abandoned Lanayru Mine, and it's honestly one of the easier rematches to reach.
| Location | Coordinates | Closest Lightroot | Closest Chasm |
|---|---|---|---|
| 1 | 2840, 0610, -0790 | Uinoj | South Akkala Plains Chasm |
| 2 | -1245, 2015, -0550 | Uoyoyuik (Kiuyoyou Shrine) | Elma Knolls Chasm |
| 3 | 3675, 1685, -0540 | Niuzimod or Akinatanis | Near Abandoned Tarrey Town Mine |
For location 3, I actually prefer Akinatanis because it's at the same height as the arena. Niuzimod works too, but I end up doing more climbing.
Marbled Gohma - The Fire Temple
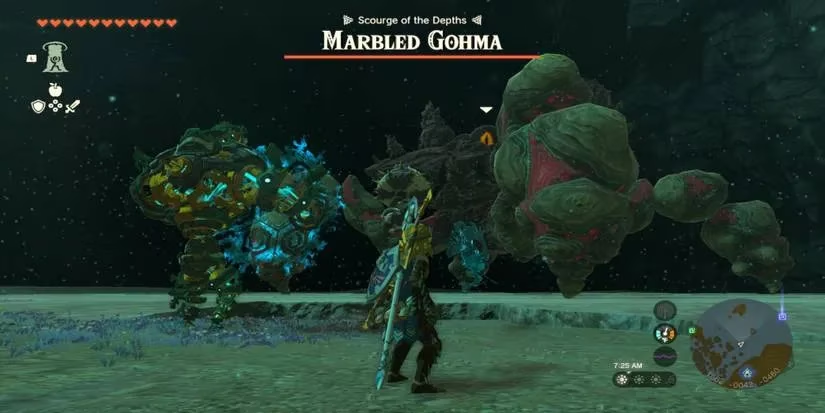
Marbled Gohma is another familiar fight, just with more damage and health. I bring a hammer or a fused rock weapon for the legs, then go to town when it drops. The locations are spread out, so I usually do these on a dedicated Depths night.
| Location | Coordinates | Closest Lightroot | Closest Chasm |
|---|---|---|---|
| 1 | 1620, -005, -0460 | Uasnoj (Jonsau Shrine) | Lanayru Wetlands Chasm on Mercay Island |
| 2 | -2790, -0760, -0545 | Muzasu (Usazum Shrine) | Yiga Clan Hideout Chasm |
| 3 | 2145, -0625, -0595 | Takaruk (Kurakat Shrine) | East Hill Chasm by Kakariko Village |
Location 2 is a bit of a walk from the Lightroot, and the Yiga Clan Hideout Chasm is at a higher elevation. I usually glide down and mark the arena with a pin.
Queen Gibdo - The Lightning Temple
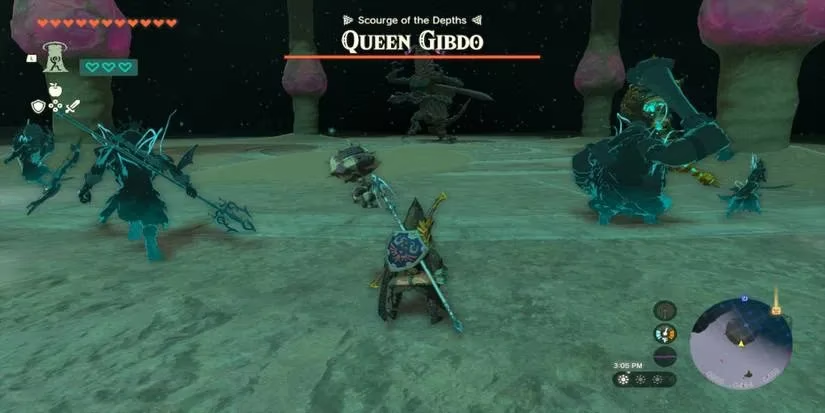
Queen Gibdo is still a chaotic fight, and yes, she still summons Gibdo underground. I use lightning-based attacks, mirrors if I have them, and a lot of movement. The first spot is very close to one of the Marbled Gohma arenas, which makes routing easy.
| Location | Coordinates | Closest Lightroot | Closest Chasm |
|---|---|---|---|
| 1 | 0950, -0460, -0470 | Korakut (Tukarok Shrine) | East Hill Chasm |
| 2 | -2715, -0075, -0650 | Kawakarut (Turakawak Shrine) | Yiga Clan Hideout Chasm |
| 3 | -3635, -0835, -1030 | Umamustor (Rotsumamu Shrine) | Yiga Clan Hideout Chasm |
Location 2 is below Washa's Bluff, and I need to climb if I come from the Yiga chasm. Location 3 is lower, so I can glide down. I always bring plenty of arrows and a decent shield.
The Seized Construct - The Spirit Temple
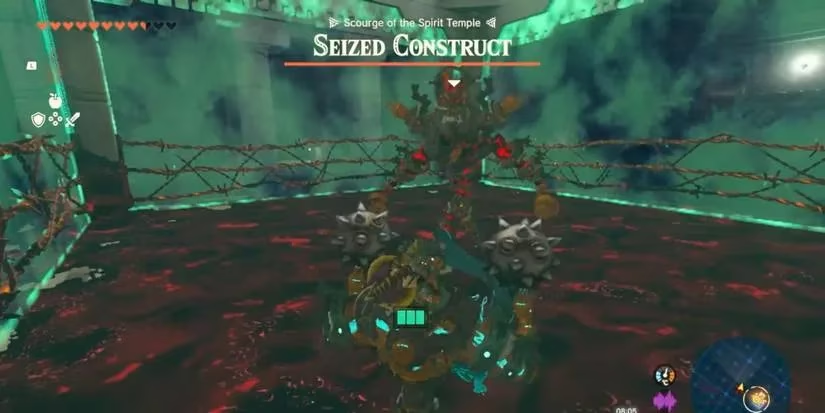
This is the one that still bugs me. The Seized Construct was a great fight, but as of 2026 I haven't found any way to refight it in the Depths. You either start over or load a save from before the battle. That's why I keep a manual save right before the Spirit Temple on a second profile. If you don't want to pay Robbie for a compendium picture, take a photo during the fight. Trust me, I learned that the hard way.
My Quick Tips for Depths Boss Runs
-
🗺️ Unlock the closest Lightroot before you engage; it makes the route safer.
-
🍲 Bring gloom-resistant food and a few sunny dishes.
-
🏹 Stock up on arrows and elemental fruit before a long run.
-
📌 Pin all three arenas and mark the chests so you don't miss rewards.
-
🔋 Spend Huge Crystallized Charges on battery upgrades first; it changes everything.
I still think these rematches are some of the best side content in Tears of the Kingdom. They give me a reason to return to the Depths, and the battery upgrades make the whole game smoother. If you're hunting Huge Crystallized Charges in 2026, start with Mucktorok and Marbled Gohma; their routes feel the least painful to me. Then work your way through Colgera and Queen Gibdo. And please, take that Seized Construct picture while you can.