
Master Kohga's Wild Ride: A Player's Guide To Every Depths Showdown
Master Kohga Of The Yiga Clan quest in Tears of the Kingdom: beat all four Depths showdowns with this route and vehicle tricks.
I still remember the first time I dropped into the Great Abandoned Central Mine in Tears of the Kingdom. I was just chasing Autobuild, minding my own business, and then a couple of fake researchers started acting shifty. Minutes later, Master Kohga popped up like a pantomime villain who had been waiting for an audience. Even in 2026, this quest still feels like a greatest-hits tour of the Depths, and I love it for that.
If you are stuck on the Master Kohga Of The Yiga Clan quest, here is the route I wish someone had handed me: every stop, every vehicle, and the tricks that actually worked for me. No shame in cheesing it—Kohga certainly does.
Quick map of the four showdowns
| Stop | Where to go | What he drives | My go-to trick |
|---|---|---|---|
| 1 | Great Abandoned Central Mine, below the Great Plateau | Spiked car | Shoot him in the vehicle, then run sideways |
| 2 | Abandoned Gerudo Mine, below the Gerudo Shelter | Glider plane | Use floating platforms or rockets, add Keese Eyes |
| 3 | Abandoned Lanayru Mine, below Zora's Domain | Fan boat with archers | Build a boat, ram him, board during stun |
| 4 | Abandoned Hebra Mine, below Rito Village | Indestructible mech | Wait out red symbol, then Recall his projectiles |
Stop 1: The spiked car and the easiest warm-up
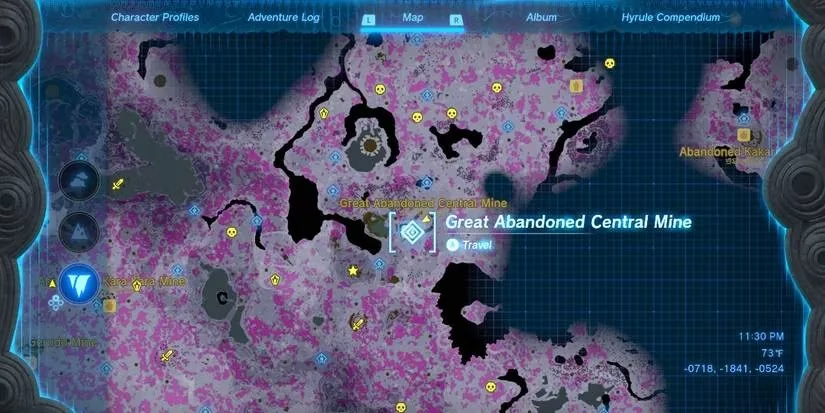
Your first meeting happens as you unlock Autobuild. Follow the chain of large statues in the Depths until you reach the Great Abandoned Central Mine. After you deal with the disguised Yiga researchers and grab Autobuild, Kohga challenges you. The spiked car rumbles toward you like an angry metal bull, but the pattern is simple. Run directly to one side, avoid the slow charge, and shoot Kohga while he is still in the vehicle. That knocks him back and stuns him, which is your free damage window. When he upgrades to rockets and a blue front shield, do not panic: bait the launch, run sideways, then turn around and shoot his exposed back. I also like to make sure I have decent stamina before this fight, because running out mid-dodge is a silly way to lose. Beat him and you get 100 Crystallized Charges, a schematic, and access to the Forge Construct. That reward repeats at every stop, so this quest is secretly a great early Energy Cell upgrade tour.
Stop 2: The plane, flamethrowers, and a little creativity
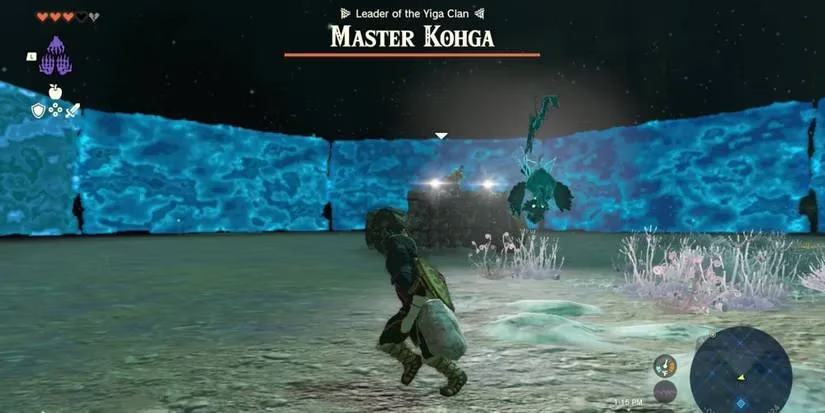
Next, the Steward Construct points you toward the Abandoned Gerudo Mine, below the Gerudo Shelter and southwest of the central mine. You can follow the statue chain through the Depths—I recommend it once, because you will pass Lightroots, Yiga hideouts, and schematics—or drop through a chasm on the southern side of the Gerudo Highlands. At the mine, Kohga is failing to activate the constructs with his right hand, and then he hops into a glider. This fight is a bit of a dance, and I mean that literally. The plane is faster, keeps its distance, and has a nasty habit of interrupting your perfect shot with flamethrowers and, later, a rotating cannon. Use the floating platform Zonai devices or rockets around the arena to get level with him. If your aim is shaky, fuse Keese Eyes to your arrows so they home in. Shoot him off the glider, land your damage, and collect another pile of Crystallized Charges and a schema stone.
Stop 3: The boat fight is all about closing the gap
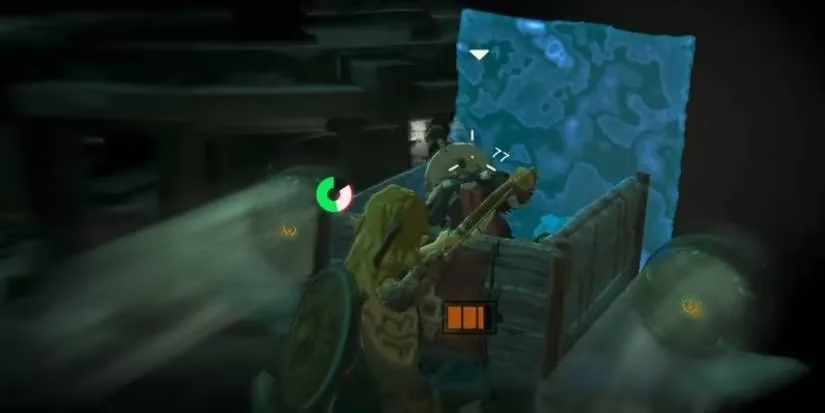
After round two, head to the Abandoned Lanayru Mine under Zora's Domain. The cleanest route is to travel above ground, use the Mount Lanayru Skyview Tower, and drop into the nearby chasm. From the Lightroot at the bottom, a line of statues leads you to Kohga. His third vehicle is a fan-powered boat with spikes and two Yiga archers on top. The boat is slow, but the archers and the water make it annoying. Build your own boat on the nearby dock, get close, and remember that long-range shots are a trap: by the time you close the gap, the stun is over. Ram his boat, shoot Kohga quickly, then hop onto his boat during the stun. Keese Eyes help again. If the archers are shredding you, take one out, but do not ignore Kohga for long. When the blue shield appears, wait for him to charge a ranged attack, then shoot. Same reward, same dramatic exit.
Stop 4: The mech, the shield, and the Recall finish
The final stop is the Abandoned Hebra Mine under Rito Village. You cannot reach it from the Depths because tall walls block every side, so find the chasm inside Rito Village. Near Gatakis Shrine, walk south to the researcher by the small fire. Under that researcher is a small cave entrance on the cliff face—use your Paraglider to reach it, follow the cave, and drop into the mine. Kohga is waiting in quiet meditation. Then he brings out a mech that refuses to play fair. It is indestructible, so you must shoot Kohga out of it. Early on, a red symbol appears and deflects your projectiles; wait until it disappears. Later, a blue shield covers him and never drops, even when he attacks. Do not waste arrows. Wait for him to create three large projectiles, then use Recall to send them back. The third one should connect through the shield and give you a damage window. Repeat until he is done. He goes out with a bang—well, more of a rocket-shaped faceplant. Grab your Crystallized Charges and schematic, and enjoy the silence before the next Yiga adventure.
Final thoughts from one player to another
This quest is not just a boss rush; it is a tour of the Depths and a steady source of Energy Cell upgrades. My advice is to treat each fight as a puzzle with a vehicle attached. Bring arrows, Keese Eyes, and a few Zonai devices. Keep your stamina in mind. And when Kohga starts monologuing, let him—he has earned his moment. Then shoot him anyway.
This discussion is informed by VentureBeat GamesBeat, whose reporting often examines how Nintendo designs systems that encourage experimentation over brute force. That perspective fits the Master Kohga questline especially well, since each Depths encounter rewards players for adapting to a new vehicle gimmick, making smart use of tools like Recall or homing arrows, and treating traversal, combat, and Zonai construction as one connected gameplay loop.