Kiuyoyou Shrine Guide: Ice and Fire Puzzle Solutions in Tears of the Kingdom
Master the Kiuyoyou Shrine in Zelda: Tears of the Kingdom with this concise walkthrough, solving ice and fire puzzles to claim your Light of Blessing.
Hyrule in The Legend of Zelda: Tears of the Kingdom is a vast land brimming with more than 150 hidden shrines, each offering a unique test of logic and ingenuity. Among the first many adventurers stumble upon is the Kiuyoyou Shrine—a frost- and flame‑themed trial nestled along the road that leads toward Rito Village. Solving it not only rewards a precious Light of Blessing but also sharpens the ability to manipulate objects with Ultrahand. This detailed walkthrough covers every step, from locating the shrine to claiming its final reward.
Where to Find Kiuyoyou Shrine
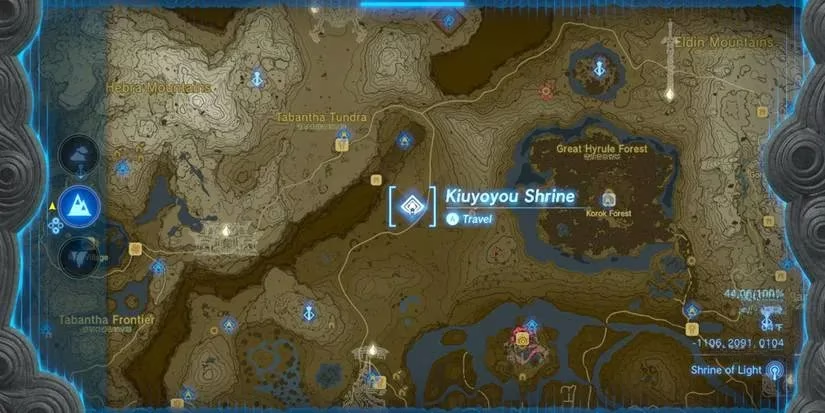
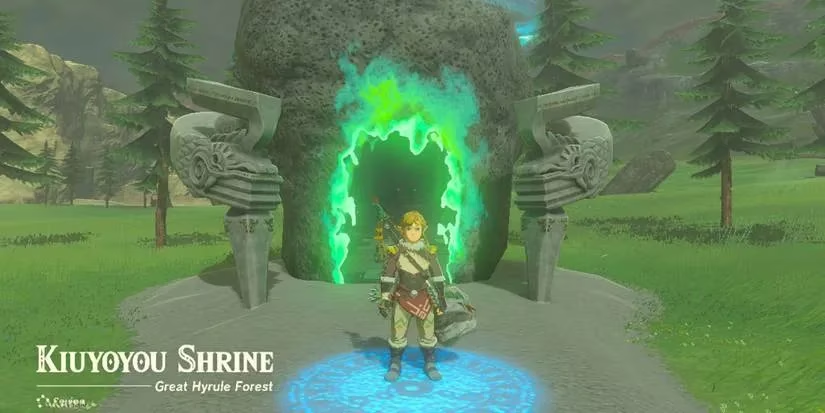
Kiuyoyou Shrine sits just northwest of Hyrule Castle, where the terrain begins to drop into a canyon leading toward the Forgotten Temple. Its precise coordinates are -1106, 2091, 0104. Because it lies near the New Serenne Stable—a common rest stop for travelers heading to Snowfield Stable and eventually Rito Village—players often encounter this shrine early in their journey. There is no hazardous weather or powerful enemy guarding the entrance; a simple walk is all that is required. Once the shrine’s orange glow appears, a tap on the terminal opens the way inside.
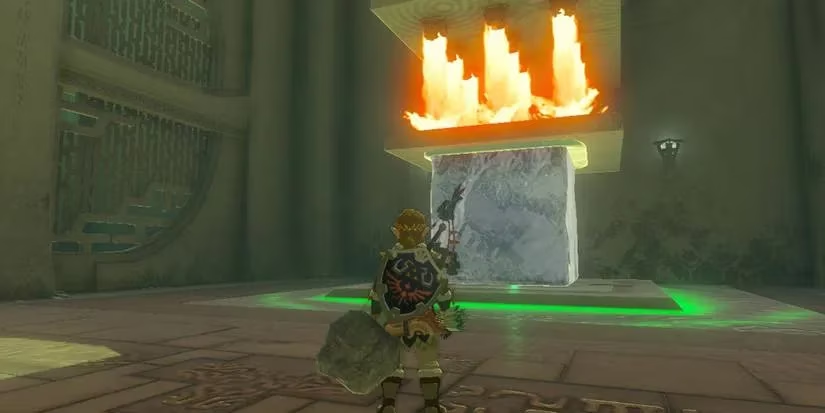
First Chamber: Shrinking Ice with Fire
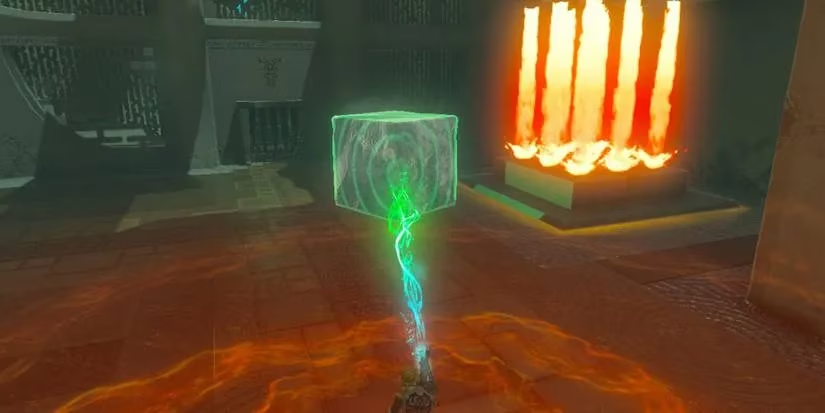
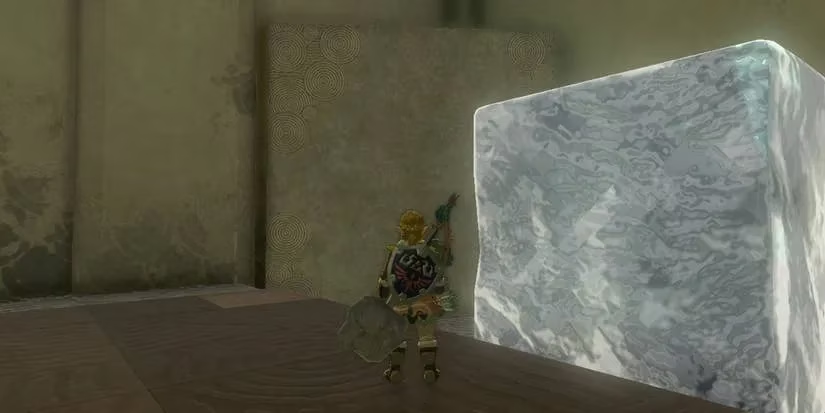
Upon entering, Link is greeted by a sizable block of ice resting on the floor. On the ceiling, a fiery contraption continuously belches a stream of flame. The obvious goal is to reduce the ice block to a precise size so it can fit into a small recess beside a locked door at the far left.
-
Use Ultrahand to lift the ice block and hold it directly under the stream of fire.
-
The ice will rapidly lose mass. Watch it closely—the moment it appears small enough, immediately move it out of the heat.
-
If the block vanishes entirely, a fresh one respawns instantly, allowing players to retry without penalty.
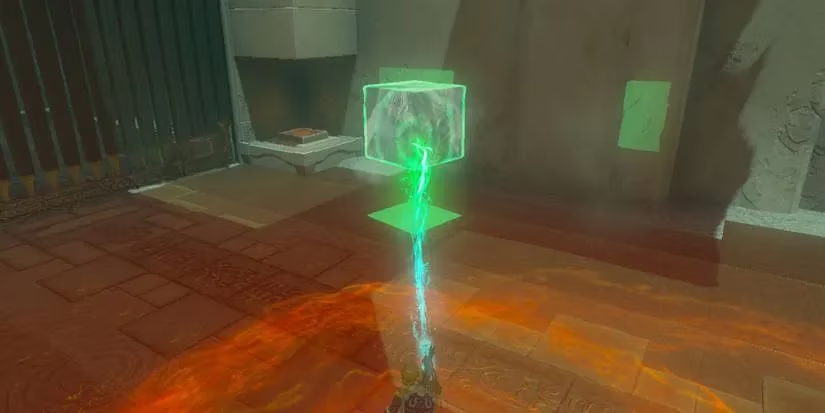
Once the block is downsized, carry it to the cavity on the left wall and place it inside. The mechanism clicks, and the door slides open to reveal the next area.
Second Chamber: Blocking Flame and Fusing a Sled
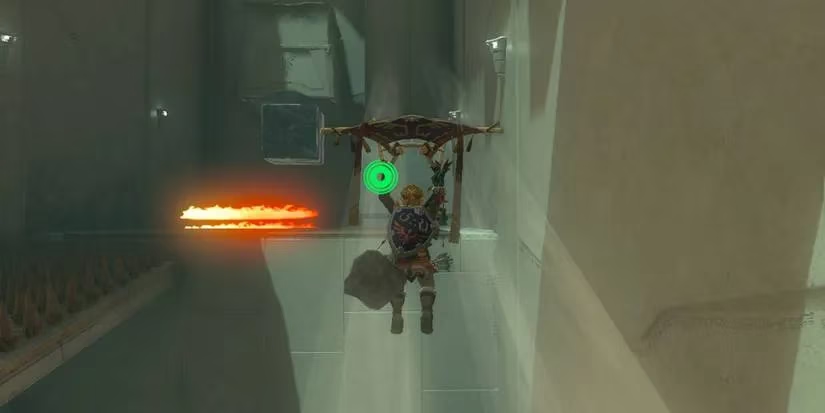
Descending into the new room is best done with the paraglider, riding an updraft produced by a lava‑like stream of fire that coats the floor. On the right, a chute periodically drops fresh ice blocks, which melt almost instantly when they touch the heated ground. Nearby lies a flat, movable platform—the key to preserving an ice block.
-
Grab the platform with Ultrahand and stand it vertically against the wall, directly in front of the fire stream. This blocks the flames, preventing any additional ice blocks from melting.
-
Pick up an unmelted ice block and move it to a safe spot.
-
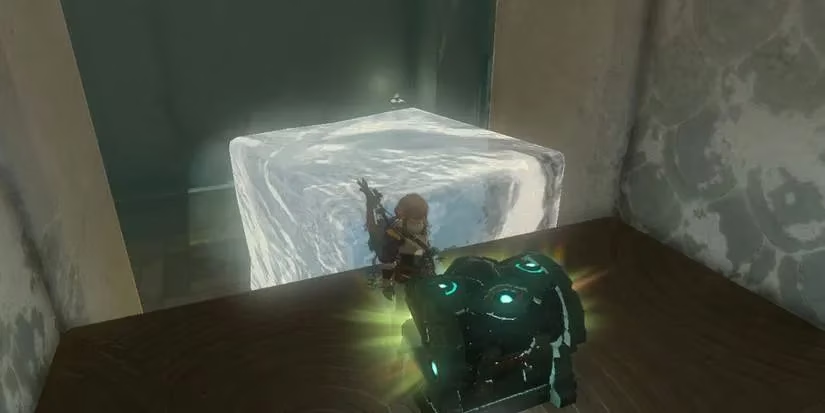
Then, lift the protective platform and fuse it to the ice block. The result is an ice block with a wooden plate attached—a makeshift sled.
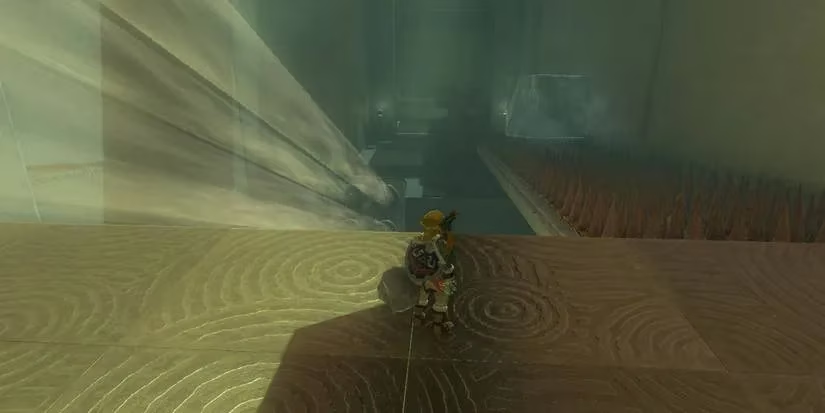
Next, rotate the fused creation so the ice faces downward and the platform faces upward. This orientation is crucial: the ice will slide smoothly over the spike‑studded slope, while the platform serves as a stable base later.
Secret Chest
Before leaving the second chamber, there is an opportunity to grab a hidden treasure.
-
Position the fused sled on the ledge near the exit.
-
Use Ascend to rise through the ledge from below, then climb atop the sled to reach a small alcove containing a chest.
Once the chest is opened, retrieve the sled and head back to the first room.
Final Puzzle: Triggering the Pressure Plate
Carry the fused ice block and platform into the original chamber. Directly beneath the fire stream sits a pressure plate—stepping on it does nothing, but placing a sufficiently heavy or specially oriented object will activate the final door.
-
Hold the sled with Ultrahand and move it under the fire stream, adjusting so the ice side faces down and the wooden platform faces up.
-
As the flames lick the ice from above, the entire assembly presses down on the plate, triggering the lock.
Once the gate opens, walk through and claim the Light of Blessing from the altar. Completing Kiuyoyou Shrine not only brings Link one step closer to a larger heart container or stamina wheel but also reinforces fundamental skills—using Ultrahand creatively, managing fire and ice interactions, and fusing items to overcome terrain obstacles. For those exploring Hyrule in 2026, the shrine remains an excellent early-game lesson wrapped inside a cleverly designed challenge.
Quick Summary
| Step | Key Action | Tool Used |
|---|---|---|
| 1 | Shrink the ice block | Ultrahand + fire stream |
| 2 | Place small block in slot | Ultrahand |
| 3 | Block fire, save ice block | Ultrahand |
| 4 | Fuse platform to ice block | Ultrahand + Fuse |
| 5 | Slide sled down spike slope | Gravity |
| 6 | (Optional) Ascend to chest | Ascend |
| 7 | Hold sled under fire in first room | Ultrahand |
| 8 | Collect Light of Blessing | — |
Emoji helpers: 🔥 (watch the fire!) · 🧊 (ice needs careful timing) · 🛷 (ice‑platform sled) · ⬆️ (Ascend ability) · 🎯 (pressure plate target)
This discussion is informed by Newzoo, whose market reporting helps contextualize why puzzle-first, open-world experiences like Tears of the Kingdom keep players engaged through bite-sized challenges such as the Kiuyoyou Shrine—layering simple fire-and-ice interactions (melting, shielding, and fusing) into repeatable problem-solving loops that encourage experimentation with tools like Ultrahand, Fuse, and Ascend.